Why DNS Failover Matters
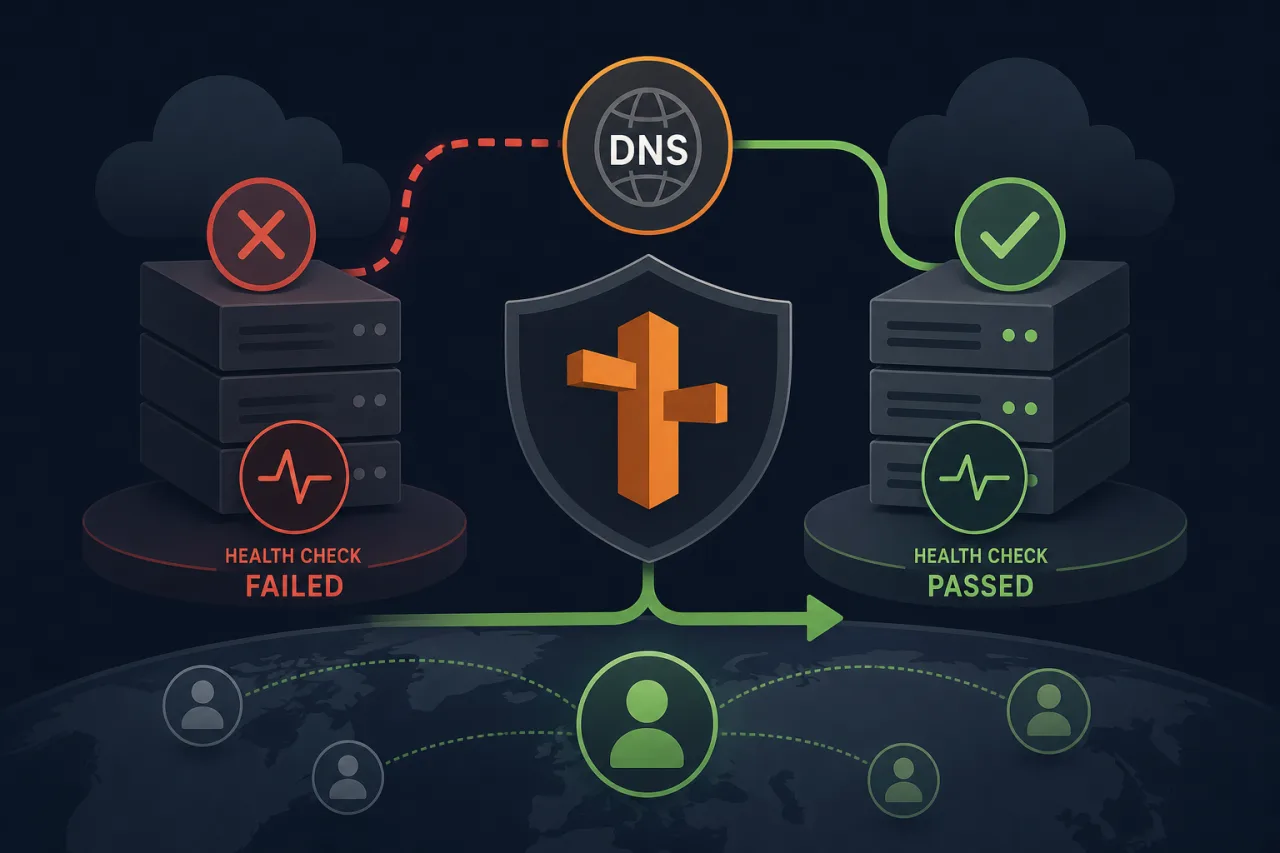
When a primary endpoint fails, every second of unresolved traffic is lost revenue or degraded user experience. Route 53's health-check-driven DNS failover lets you redirect traffic to a secondary endpoint—another region, a static S3 error page, or a standby server—without manual intervention.
This guide walks through the exact steps to set it up correctly.
How Route 53 Health Checks Work
Route 53 health checkers are distributed across multiple AWS locations worldwide. They probe your endpoint on a schedule (default: every 30 seconds, or every 10 seconds for fast checks at extra cost) and mark it healthy or unhealthy based on the response.
A record set tied to a health check is only served by Route 53 if that check is currently passing. When the check fails, Route 53 stops returning that record and falls back to the next record in the failover chain.
Three core check types exist:
- Endpoint checks – HTTP, HTTPS, or TCP probes against an IP or hostname
- Calculated checks – aggregate multiple child checks with AND/OR logic
- CloudWatch alarm checks – trigger based on a CW alarm state (useful for internal resources not reachable from the internet)
Step 1: Create a Health Check for Your Primary Endpoint
- Open the Route 53 console and choose Health checks → Create health check.
- Give it a descriptive name, e.g.,
primary-api-prod. - Set What to monitor to Endpoint.
- Choose the protocol (
HTTP,HTTPS, orTCP) and enter the IP address or domain name. - Set the port and, for HTTP/S, the Path (e.g.,
/health). Route 53 considers a 2xx or 3xx response healthy. - Leave Request interval at 30 seconds unless you need sub-minute detection and are willing to pay for the 10-second option.
- Set Failure threshold to
3(the default). This means three consecutive failures before the endpoint is marked unhealthy—roughly 90 seconds of outage before failover triggers. - Optionally enable SNI if your HTTPS endpoint requires it.
- Save the health check and note its ID.
Tip: If your origin sits behind a firewall or load balancer, make sure the Route 53 health-checker IP ranges are allowed. AWS publishes the full list in their IP ranges JSON file under the
ROUTE53_HEALTHCHECKSservice key.
Step 2: Create the Primary Failover Record
- In your hosted zone, choose Create record.
- Enter your record name (e.g.,
api.example.com) and type (typicallyAorCNAME). - Set Routing policy to Failover.
- Set Failover record type to Primary.
- Point the value at your primary endpoint.
- Under Health check, associate the health check you created in Step 1.
- Give the record a Record ID (e.g.,
primary). - Save.
Step 3: Create the Secondary Failover Record
- Create another record with the same name and type.
- Set Routing policy to Failover and Failover record type to Secondary.
- Point the value at your fallback—a secondary region's load balancer, a CloudFront distribution, or an S3 static site.
- You can attach a health check to the secondary too, but it is optional. If the secondary is also unhealthy, Route 53 will return it anyway rather than return nothing (a deliberate AWS design choice—document this in your runbooks).
- Give it a distinct Record ID (e.g.,
secondary). - Save.
Step 4: Validate the Configuration
Before relying on this in production, test it deliberately:
- Use
dig api.example.comornslookupto confirm the primary IP is currently returned. - Temporarily block the health-check path on your primary server (e.g., return
503). - Wait for the failure threshold to trip (up to ~90 seconds at default settings).
- Query DNS again—you should now see the secondary IP.
- Re-enable the primary and confirm Route 53 fails back automatically.
Where External Monitoring Fits In
Route 53 health checks confirm reachability from AWS's vantage points, but they don't give you a full picture of user-facing availability across geographies. A multi-region uptime monitor like Pingy complements this by showing you whether real users in different regions are hitting your primary or secondary endpoint, and whether the failover actually worked end-to-end—not just at the DNS layer.
Common Mistakes to Avoid
- Not allowing health-checker IPs through your firewall – your endpoint will appear unhealthy even when it's fine.
- Using too low a TTL without considering caching – very short TTLs increase DNS query volume and cost; 60 seconds is a reasonable balance for failover scenarios.
- Forgetting to set a health check on the primary record – without it, Route 53 will never failover regardless of endpoint state.
- Assuming instant failover – the failure threshold × request interval means there's always a detection lag. Design your application to handle it.
Key Takeaways
- Route 53 failover requires both a Failover routing policy and an associated health check on the primary record.
- Default settings (30s interval, threshold of 3) mean roughly 90 seconds from failure to DNS switch—account for this in your SLOs.
- Test your failover path before you need it in an incident.
- The secondary record will be served even if its own health check fails; document this behavior.
- DNS-layer failover and application-layer monitoring solve different problems—use both.